Blog
PROCEDURE TO APPLY MOULD RELEASE AGENT?

Do you need to know how to apply a mould release agents or oil for optimal results?
Mould release agents are lubricants that are often silicon, wax or a fluorocarbon fluid. Used to coat the cavity of a mould to stop the moulded part from adhering to it and help facilitate smooth removal

HOW TO SELECT AND APPLY MOULD RELEASE AGENT?
Selecting the best mould release agent product?
Need to find right mould release agent for your right application.
Are you moulding parts for use in food or pharmaceutical sector? If you are, a food-grade oil or a product that is NSF-certified is typically required.
Will the moulding parts you produce later receive paintwork? If so, select paintable mould release agents or oils.
Are the parts moulded designed for use as part of finished products, In such cases, use only recognised mould release oils to create your parts.

Do the moulds you make contain complex geometries that involve parts with a deeper draw, or are parts difficult to extract from the mould? A mould release oil that contains a higher percentage of active release ingredients can be the answer.
Does your application need an aerosol mould release product, or would a bulk liquid mixture be a better option?
How to apply mould release agent for optimal results?
After you have selected and purchased the best mould release agent, the next step is your application.
How much mould release agent should you use?
When it comes to mould release applications, less mould release agent is often better than more. With less oil applied to the tooling surface, you can minimise the chance of any release material building up in the mould cavity or burning.
Applying mould release oil less frequently can reduce how long equipment is not running, increasing both productivity and profitability.
Additionally, less mould release agent on the tool’s surface reduces the chance of the moulded parts becoming contaminated with release agent, in turn decreasing the risk of parts requiring cleaning.

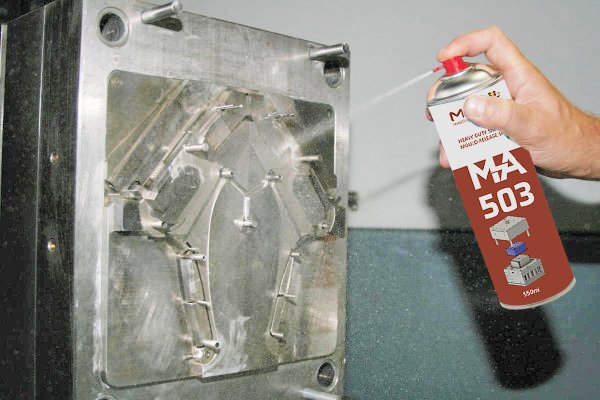
Experts advise that mould release oil should be applied to the mould’s surface from around 20 to 30 centimetres away, using a sweeping movement to ensure complete and consistent coverage of the core cavity and sides of the mould. With care and attention, apply additional release oil to any problem areas that often experience sticking.
When spraying an entire mould, apply the release oil in a uniform pattern, beginning at the top of the mould and then working from left to right as you progress down. Remember that more is not necessarily better, and ensure the coating is consistent and not wet in appearance.
How you will evaluate mould release?
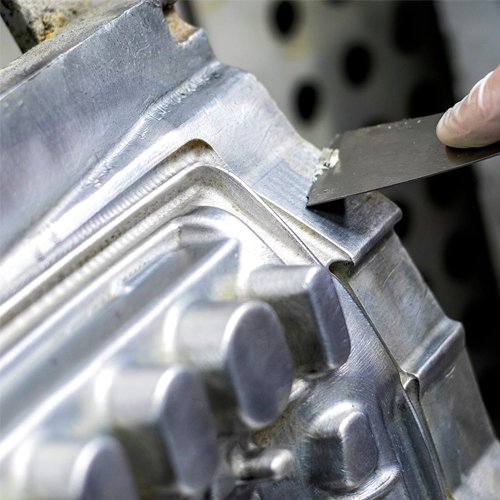
When you evaluate a mould release, it’s vital that you begin with a clean mould surface. A mould cleaner product should be employed to strip out and clean the whole mould cavity before new mould release oil is applied.
Most mould release oils are considered sacrificial products, which means that some of the agent will move from the mould cavity and onto the moulded part. Over time, the result is reduced capacity for release, but this can be countered by application of additional mould release oil.
Users should test their mould release oil and work out how many parts can be moulded before another application of oil is required. A certain amount of testing is always involved to properly evaluate the service life of a mould release agent during a process. Ideally, the release agent should see reapplication a couple of cycles before the moulded parts start to stick within the mould cavity.
How often and when the mould release oil needs to be applied will depend on multiple factors including work rates, operating temperatures, complexity of moulds and other operating conditions. While some moulds may need an oil application every cycle, others can be coated just once a day.
By selecting an appropriate product and following these steps, you can ensure you are using mould release oil effectively.

